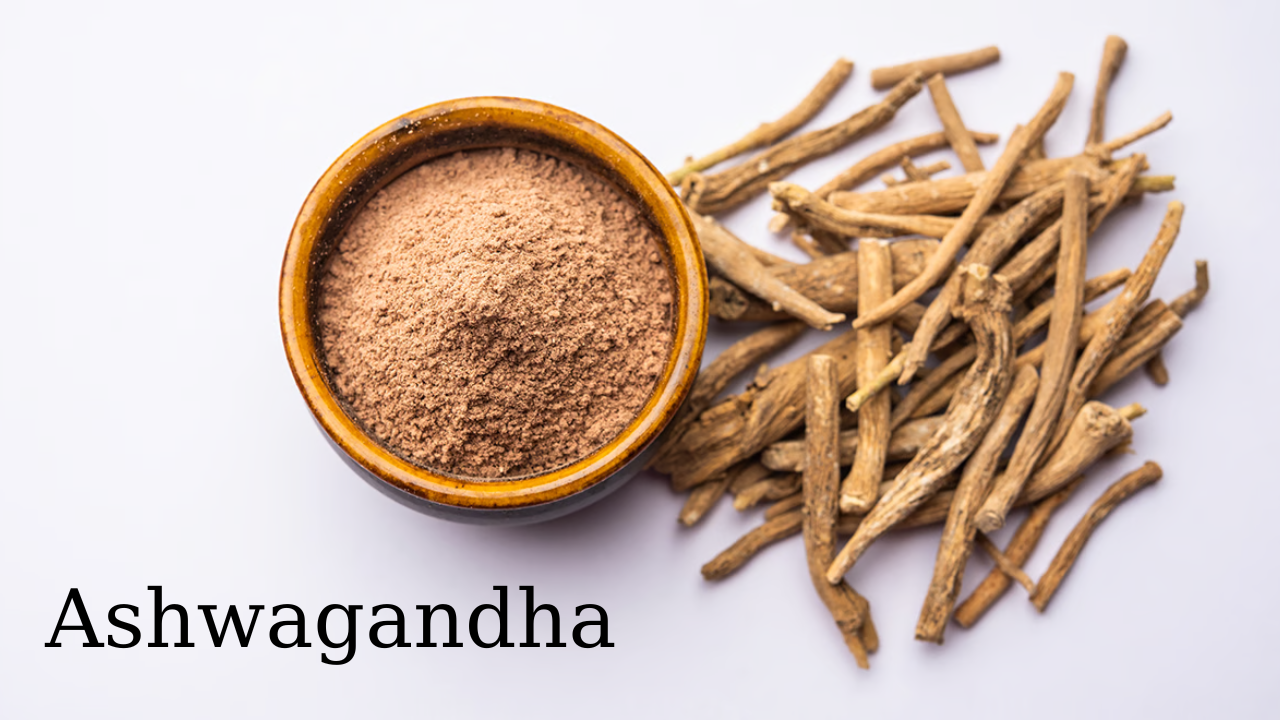
Ashwagandha (Withania somnifera), also known as Indian ginseng or winter cherry, is a medicinal plant used in Ayurveda for centuries. Even today people use it in many ways for their benefit. Some people like to grow it and use it fresh. It is quite easy to grow it. You can easily grow it in your garden. Let’s know the easy way to grow it:

1. Climate and Soil Requirements
- To grow it, it is necessary to have a proper climate and soil. Ashwagandha thrives in hot and dry climates. It requires a temperature between 20-35 degrees Celsius (68-95 degrees Fahrenheit), in which it can grow well. Sandy soil with a pH range of 7.5 to 8.0 is suitable. This soil should be well drained so that water does not stagnate.
2. How to Prepare the Soil
Loosen the soil thoroughly by digging it to a depth of about 6-8 inches. After this, add organic fertilizer or well-rotted manure to improve fertility and drainage. Remember to test the soil pH and amend it if necessary.
3. Right way of sowing seeds of Ashwagandha
Before sowing seeds, we need to pay attention to many things like
- Buy Ashwagandha seeds from a reputed supplier. Keep in mind that the seeds should be of high quality.
- Soak the seeds in water for 24 hours before sowing to increase germination.
- The best time to sow Ashwagandha seeds is in the spring after the last frost has passed.
- Sow the seeds at a depth of about 1/4 inch.
- Plant the seeds at a distance of about 2-3 feet so that they get enough space to grow.
4. Germination and Transplanting
Seeds usually germinate within 2-3 weeks. Keep the soil moist but not waterlogged during this time. When the seedlings are a few inches tall, thin them to the strongest plants, maintaining a distance of 2-3 feet.
5. Proper way of care and maintenance
When the plant starts growing slowly, it requires more care. While taking care of it, we should pay attention to the following things:
- Water the plants in small quantities. Ashwagandha can tolerate drought, so avoid overwatering it. Water it only when the top inch of its soil dries up.
- Mulching can be done around the base of the plants to maintain soil moisture and suppress weeds.
- During the growing season, fertilize the plants in small quantities with a balanced fertilizer or compost tea once a month.
- Keep removing the weeds around it from time to time so that the plant can get complete nutrition.
6. Protect from pests and diseases
- Pests: It may attract common pests like aphids, spider mites, and whiteflies. To avoid this, use organic pesticides if needed.
- Diseases: Ashwagandha is generally disease-resistant, ensure good air circulation and avoid waterlogging to avoid root rot and fungal infections.
7. Harvesting
- Ashwagandha plant is usually ready for harvesting 150-180 days after planting. The best time to harvest it is late fall or early winter. Harvesting it is very easy. For this, you have to uproot its entire plant. After this, wash its roots carefully as the roots are its most valuable part which contains beneficial compounds.
8. Drying and Storage
- It is stored by drying its roots. For this, its roots should be cut into small pieces and dried in a well-ventilated, shady place. Make sure they are completely dry so that they do not get moldy. When the roots are well dried, keep these dried roots in an airtight container in a cool, dark place. Properly dried and stored roots can last up to a year.
Additional Tips
- Plant ashwagandha with other drought-tolerant herbs and plants.
- Rotate Ashwagandha with other crops to maintain soil health and reduce pest and disease buildup.
Conclusion
By adopting the methods above and following all the guidelines, you can successfully grow and enjoy natural Ashwagandha.
Remember, before starting any new wellness regimen, it’s always best to consult with a healthcare professional to ensure it is suitable for your specific needs and circumstances.


