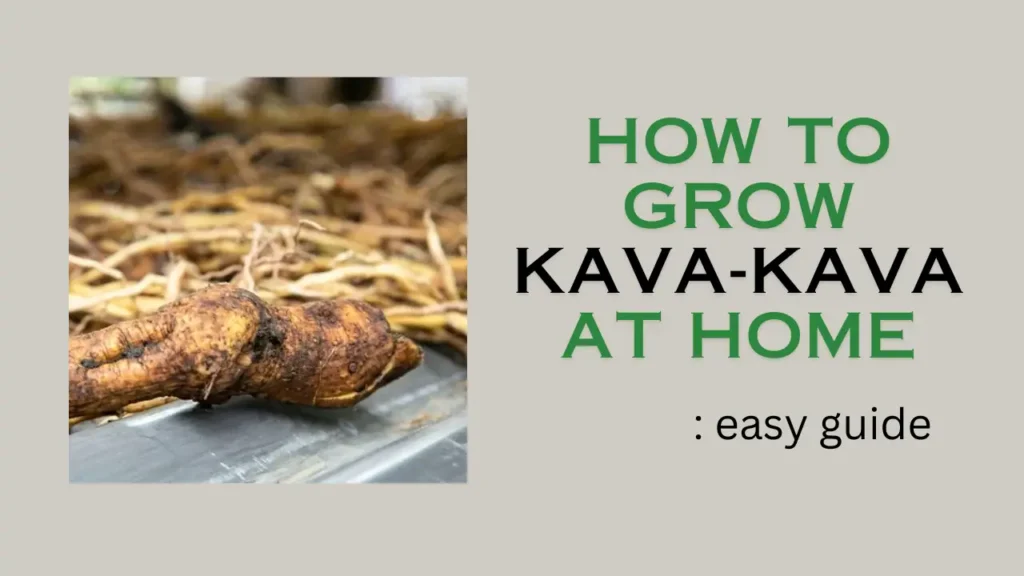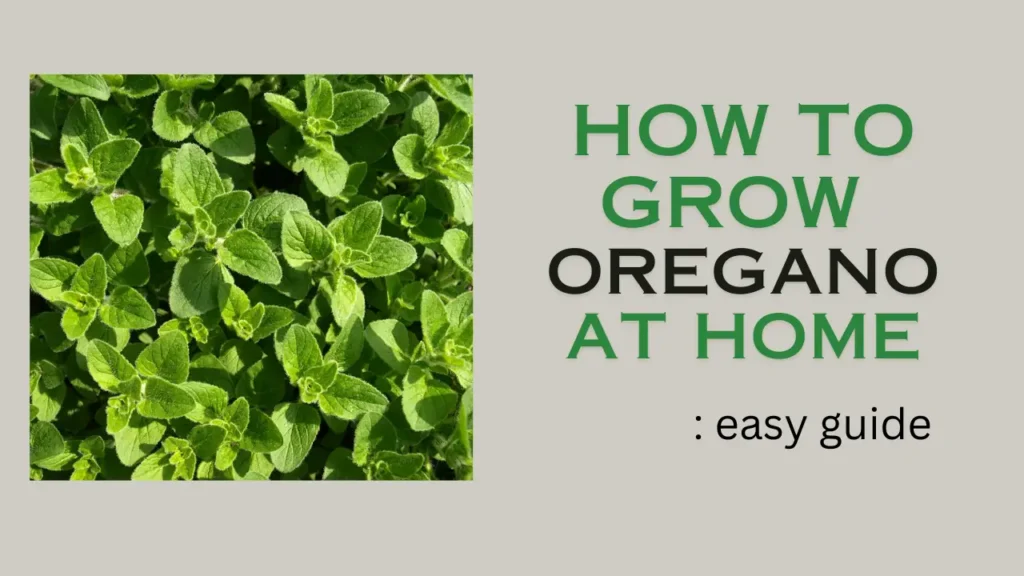
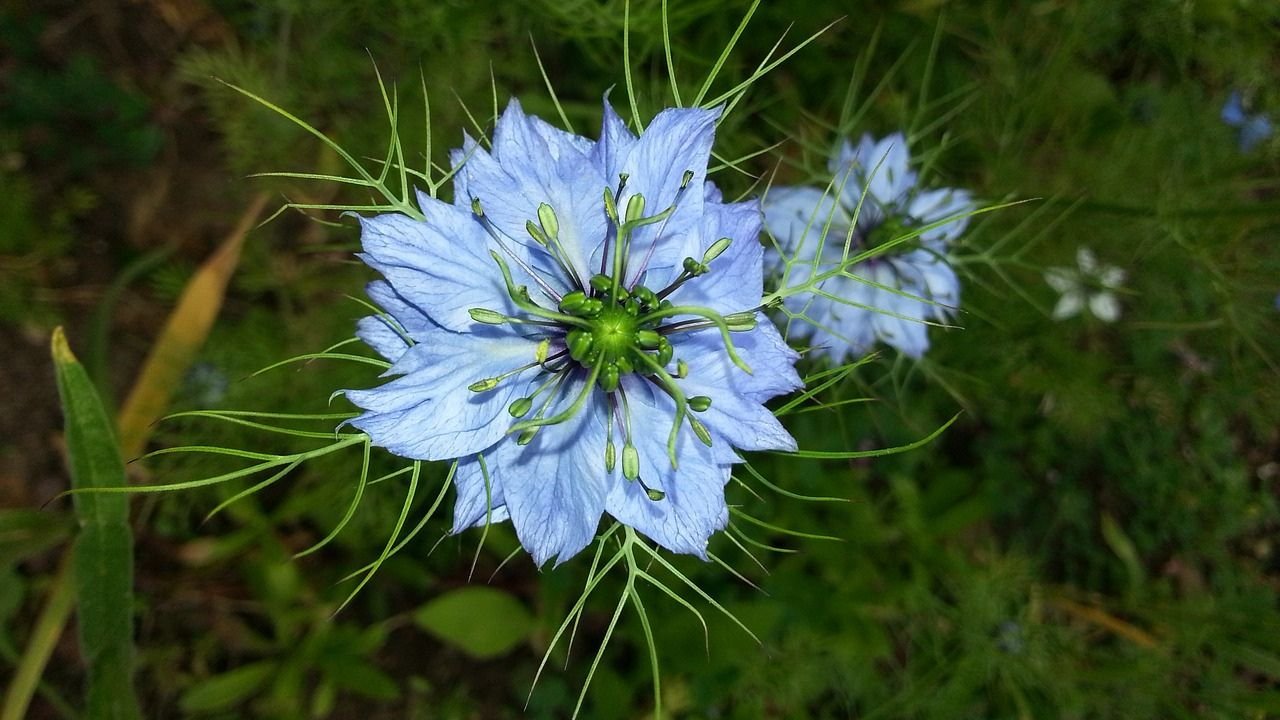
Nigella sativa, commonly known as black cumin, black caraway, or black seed, is quite easy to grow. Here is a detailed guide to help you grow it:
1. Choosing the Right Location
- To grow Nigella in your garden, first, you need to find a spot that gets a lot of sunlight as it thrives in sunlight. It requires 6-8 hours of direct sunlight a day. It grows best in sandy loam or loamy soil with a pH between 6.0 and 7.0. Keep in mind that the soil should be well drained and make sure that the soil is not waterlogged as this can cause the roots to rot.
2. Planting Nigella sativa seeds
After deciding the place, now comes the turn of planting the plant. It is important to know in which season this plant can be grown. This plant can be sown in late winter and early spring. It likes warm climates so you can also plant it in autumn. After this, you should keep in mind the following process:
- Preparation: Prepare the soil by removing weeds, from the soil and adding compost to increase fertility.
- Sowing depth: Scatter the seeds on the soil surface and cover them with a thin layer of soil (about 1/4 inch or 6 mm).
- Spacing: Keep a distance of about 6-8 inches (15-20 cm) between each seed so that the plants can grow well.
3. Watering
After planting the saplings, you must water Nigella sativa plants daily so that they grow quickly. While watering, you should keep the following things in mind:
- Frequency: Seeds should be watered slowly but regularly to keep the soil moist until germination. Germination usually occurs within 1-2 weeks.
- After germination: Once the plants are established, they become relatively drought-tolerant. But they should be watered moderately so that the soil does not dry out completely but is not too wet either.
4. Care and Maintenance
When the Nigella sativa plant starts growing slowly, it needs more care at this time. In such a situation, you should keep the following things in mind:
- Thinning: When the plant starts growing and becomes about 2 inches (5 cm) tall, it should be thinned by planting one plant every 6-8 inches (15-20 cm).
- Weed removal: Many times a lot of weeds grow around the plants which start taking the nutrition of the plant, due to which many times the plant is not able to grow well.
- Fertilizer: Nigella sativa generally does not require heavy fertilizer to grow. However, if the soil is poor, you can use a balanced, all-purpose fertilizer.
- Mulching: To maintain soil moisture and suppress weeds, mulch around the plants.
5. Harvesting
When the Nigella sativa plant is fully grown, it is necessary to harvest it on time. While harvesting, the following things should be kept in mind:
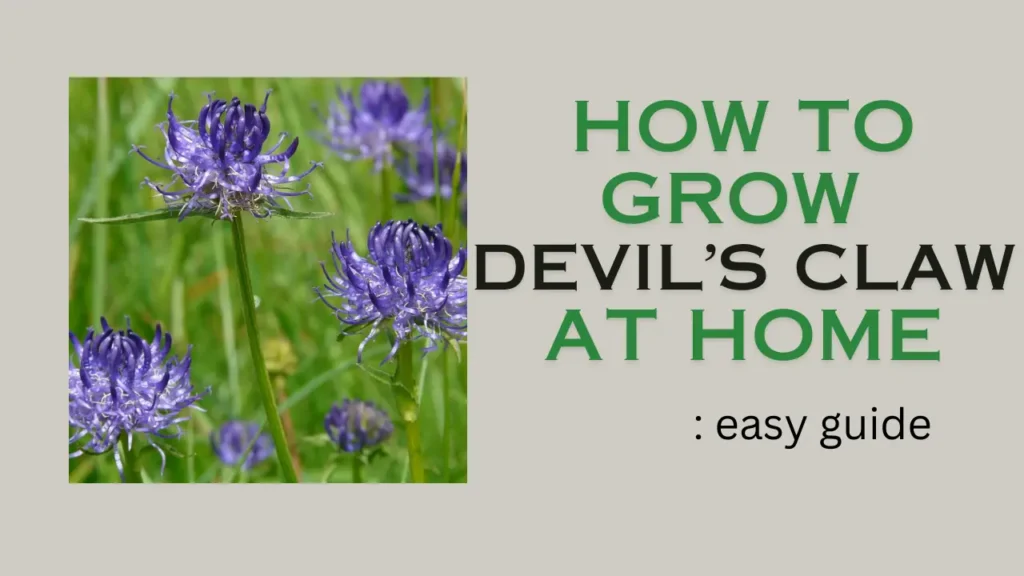
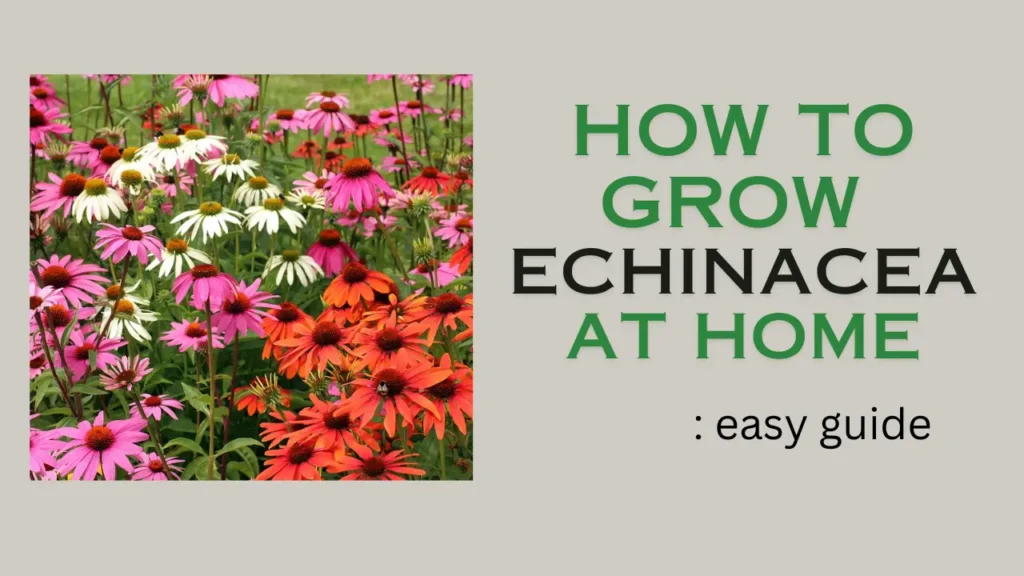
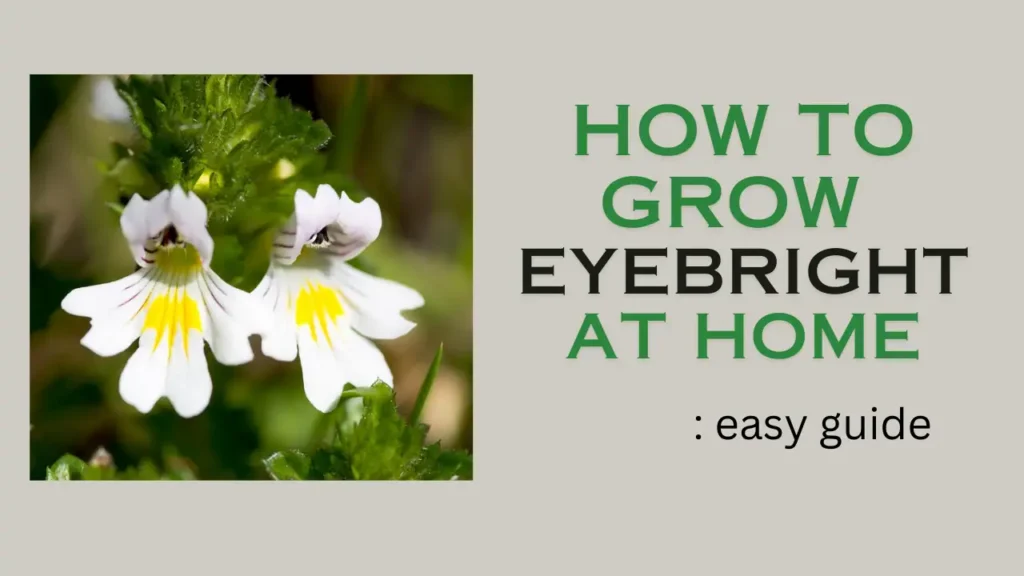
- Harvesting flowers and seeds: It produces delicate, light blue or white flowers, after which seed pods appear. When the pods turn brown and start bursting, the seeds are harvested.
- Drying the seeds: After cutting the seed pods place them in a paper bag. When it is completely dry, shake the bag to remove the seeds.
- Storage place: These dried seeds can be stored in an airtight container in a cool, dark place.
6. Pay attention to pest and disease management
After planting, keep the plants safe from many pests and diseases. To avoid this, you can adopt the following methods:
- Pests: Nigella sativa is relatively pest-free, but it is important to keep an eye out for common garden pests.
- Diseases: It can be susceptible to fungal diseases if kept in very wet conditions. To prevent this, space plants appropriately and pay attention to good air circulation.
7. Companion Planting
Nigella sativa can also be planted with other herbs and flowers. By doing so it attracts many beneficial insects such as bees, which help in Pollination.
Conclusion
By following all these steps, you can successfully grow Nigella sativa in your garden and enjoy its flowers and seeds. These can be used for culinary and medicinal purposes!
Remember, before starting any new wellness regimen, it’s always best to consult with a healthcare professional to ensure it is suitable for your specific needs and circumstances.